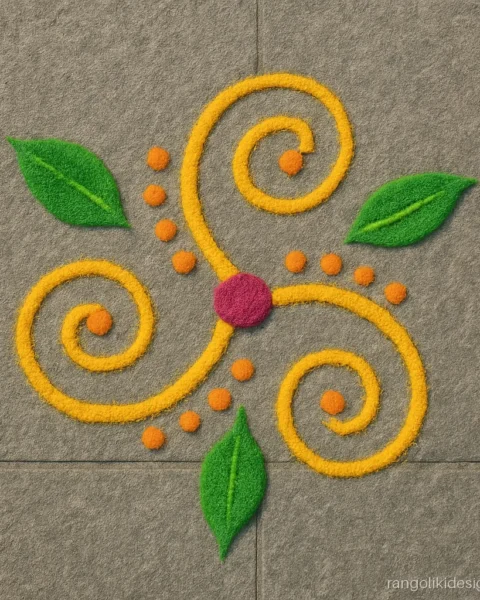
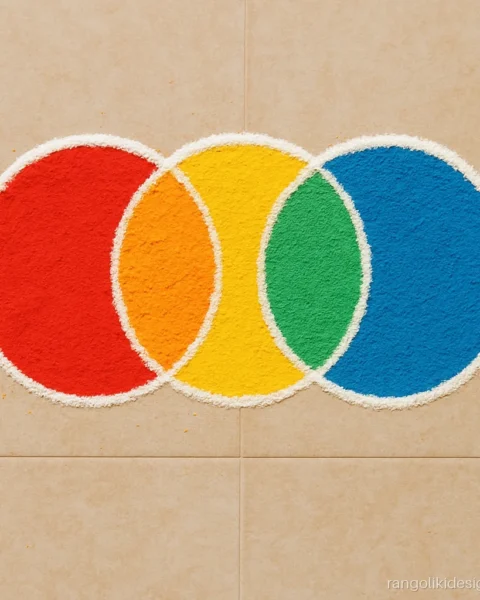
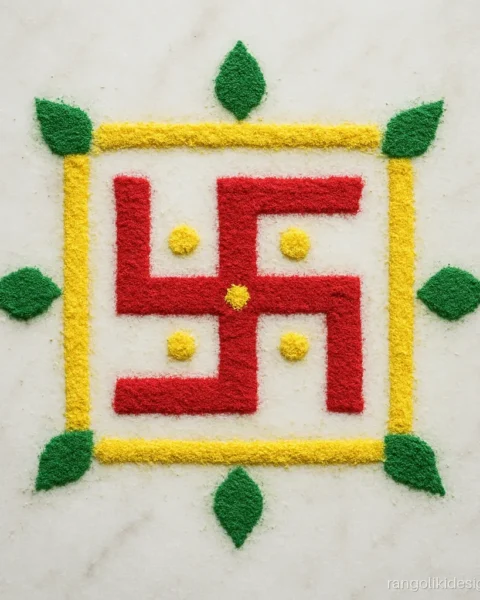
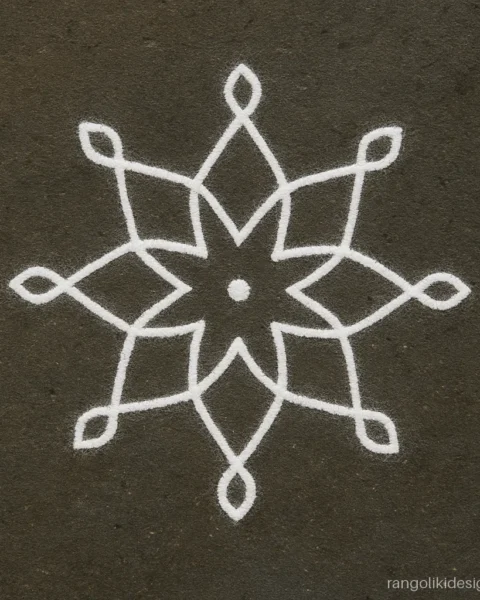
Easy rangoli designs for beginners start with three things: a clean floor, a steady pinch of powder and a simple plan. You do not need talent. You need ten minutes a day and a few kitchen tools. If you have ever asked your mother or dadi “rangoli kaise banate hain”, this page answers it step by step.
This guide shows you what to buy, how much colour to use, how to make a dot design step by step, the tricks that make lines neat, the common mistakes, and how to make your rangoli last. When you are ready for designs to copy, go to simple rangoli designs, easy rangoli designs or small rangoli designs.
What You Need: Rangoli Materials and Tools
You do not need to buy much. A few colours, white powder and things from your kitchen drawer are enough for easy rangoli designs for beginners.
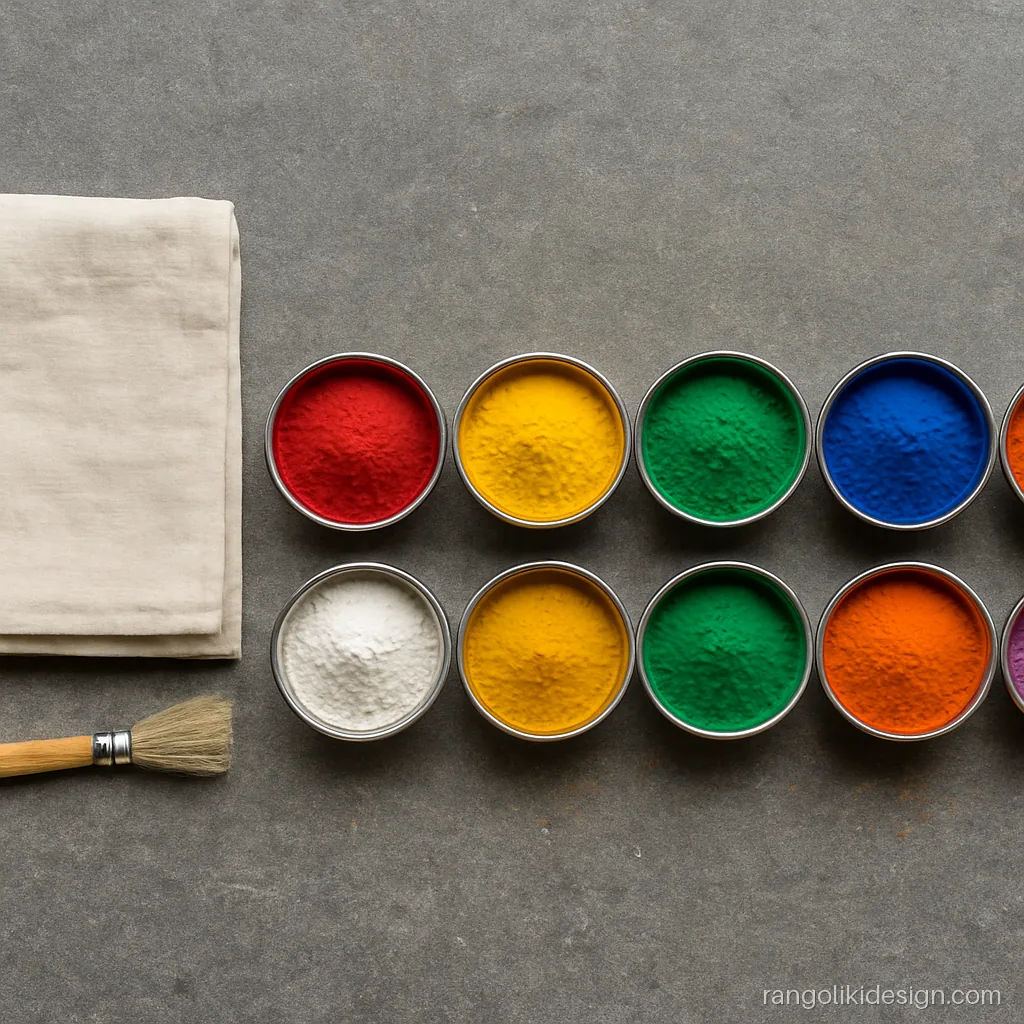
1. White Powder and Six Colours in Katoris
Six colours and white in small steel katoris. Start with 250 g white and 100 g of each colour.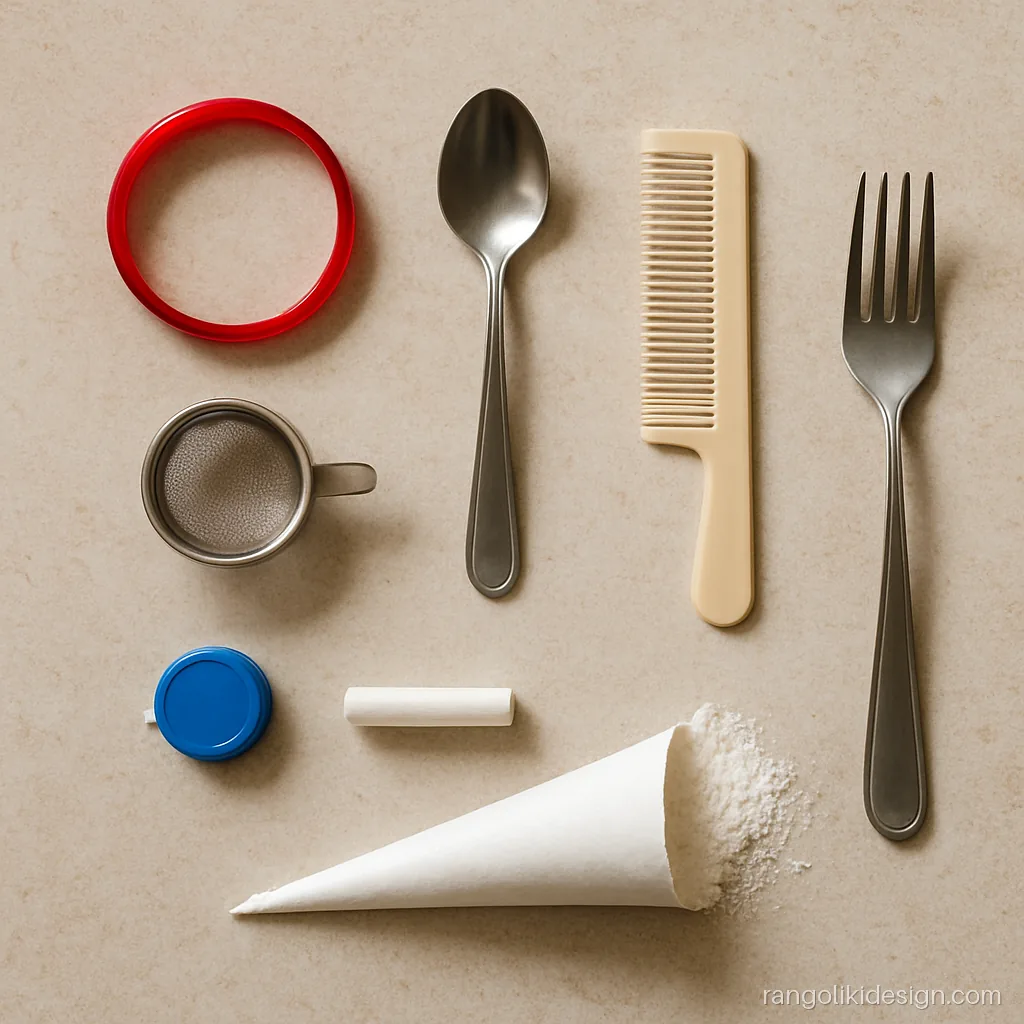
2. Kitchen Tools for Easy Rangoli
Kitchen tools that make rangoli easy: bangle, spoon, tea strainer, comb, fork, bottle cap and chalk.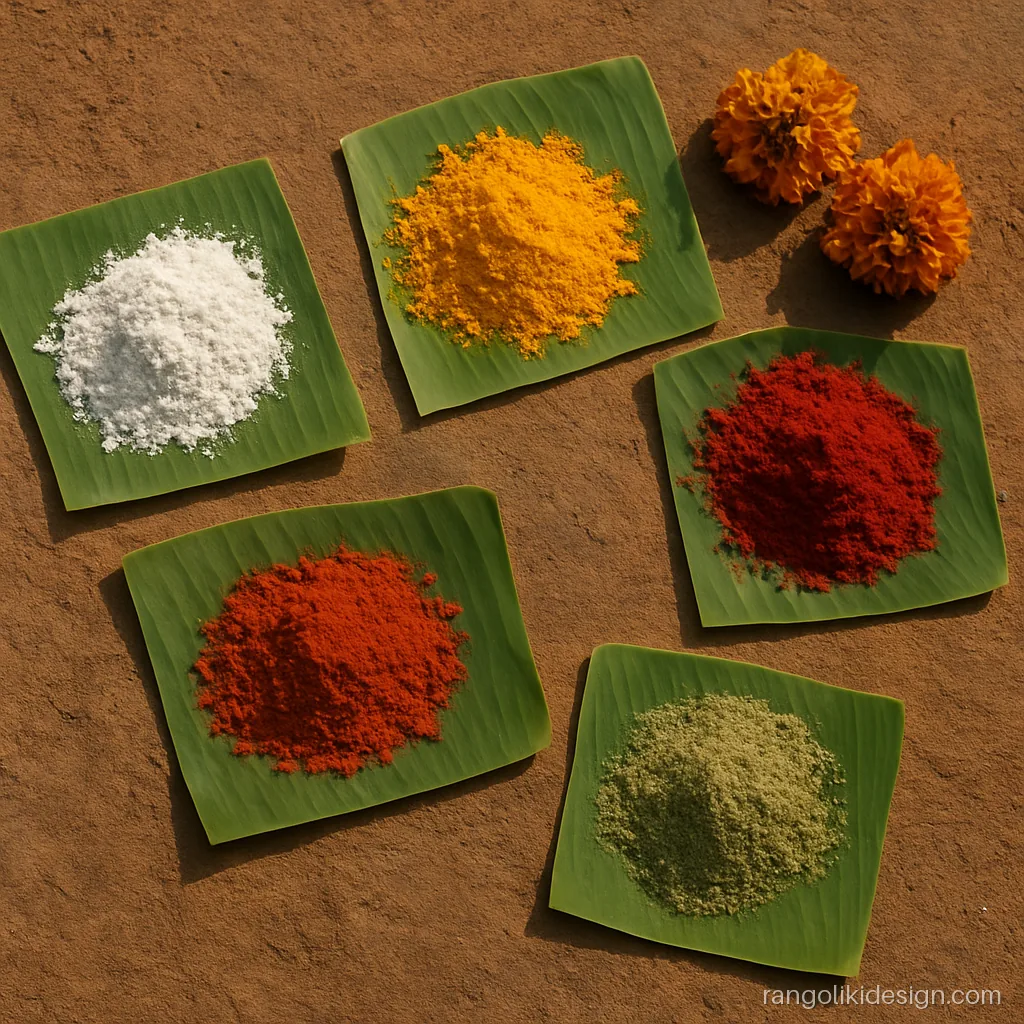
3. Natural Rangoli Colours from Haldi and Kumkum
Natural colours: rice flour, haldi, kumkum, gerua and dried leaf powder. Safest with children around.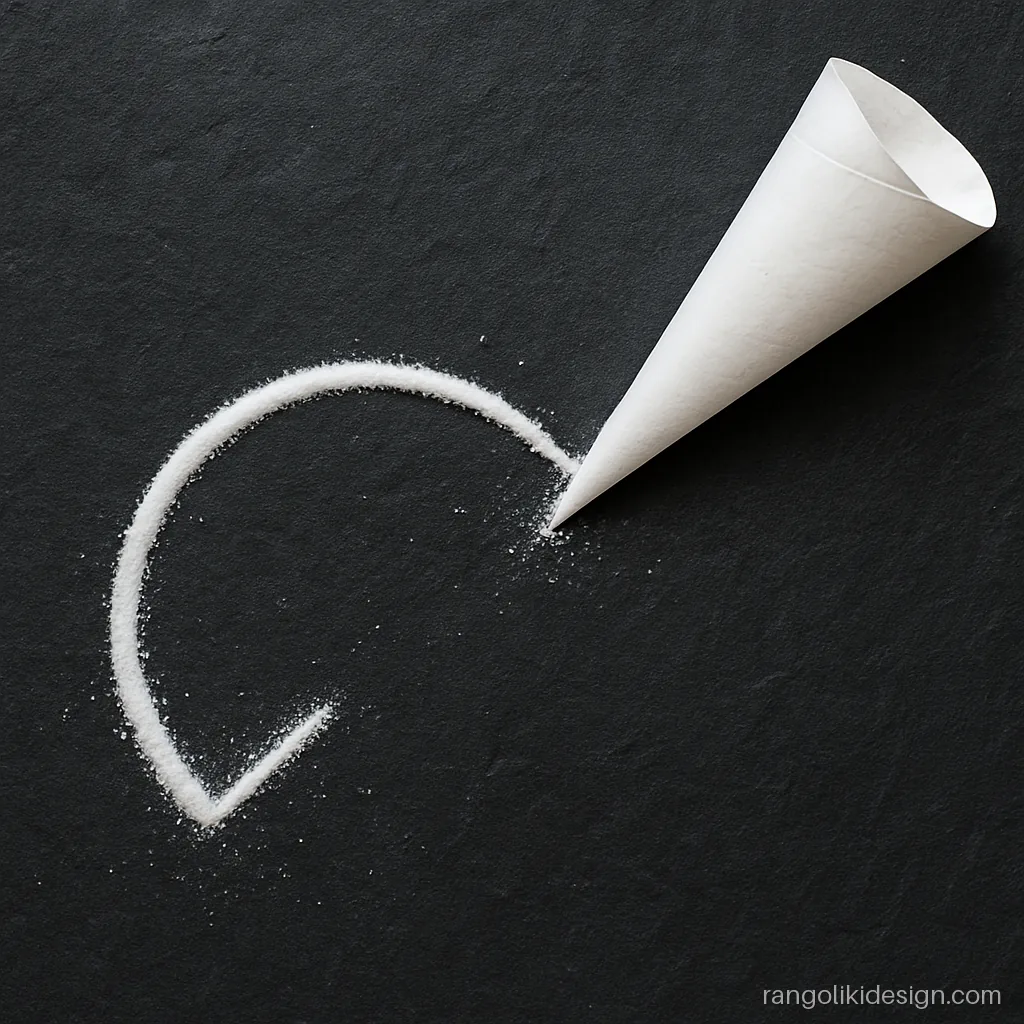
4. Paper Cone for Thin Rangoli Outlines
A paper cone gives thin, even outlines. Cut the tip small and squeeze gently.Step by Step Rangoli Designs with Dots
This is the most common way to learn: a dot grid, then lines, then colour. These four photos show one 7 to 4 dot design from start to finish. More grids are on dot rangoli designs.
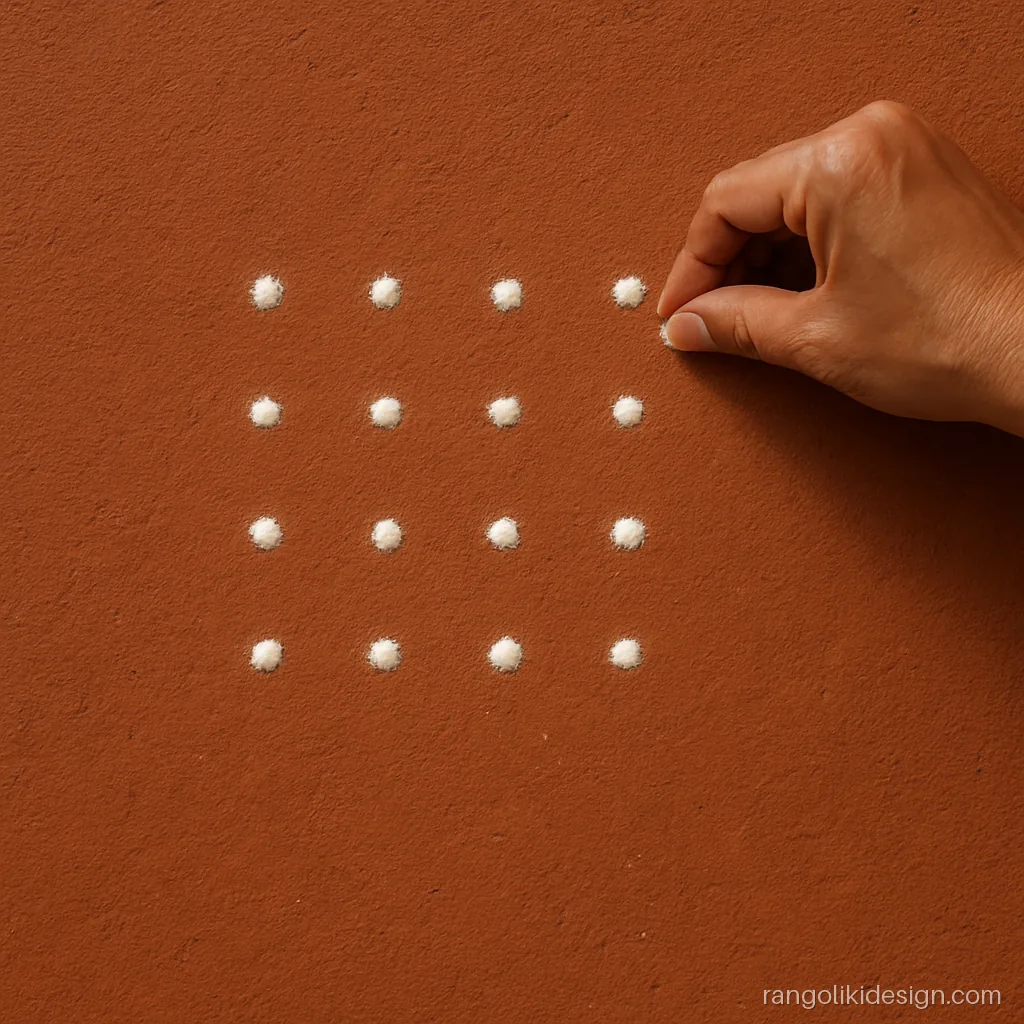
5. Placing a 7 to 4 Dot Grid
Step 1: place the 7 to 4 dot grid. Seven dots in the middle row, reducing to four. Five minutes.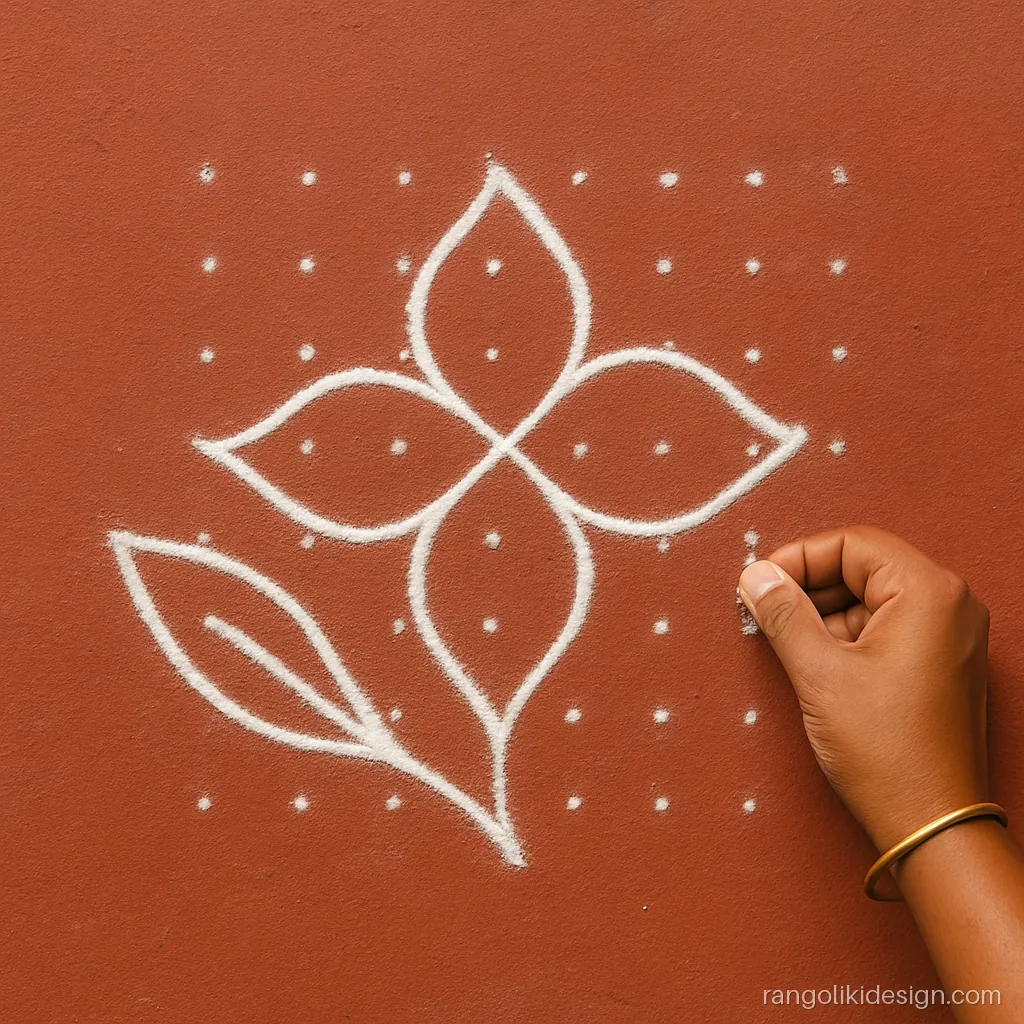
6. Joining the Dots into a Flower
Step 2: join the dots with curved white lines into a flower. Go slowly; 10 minutes.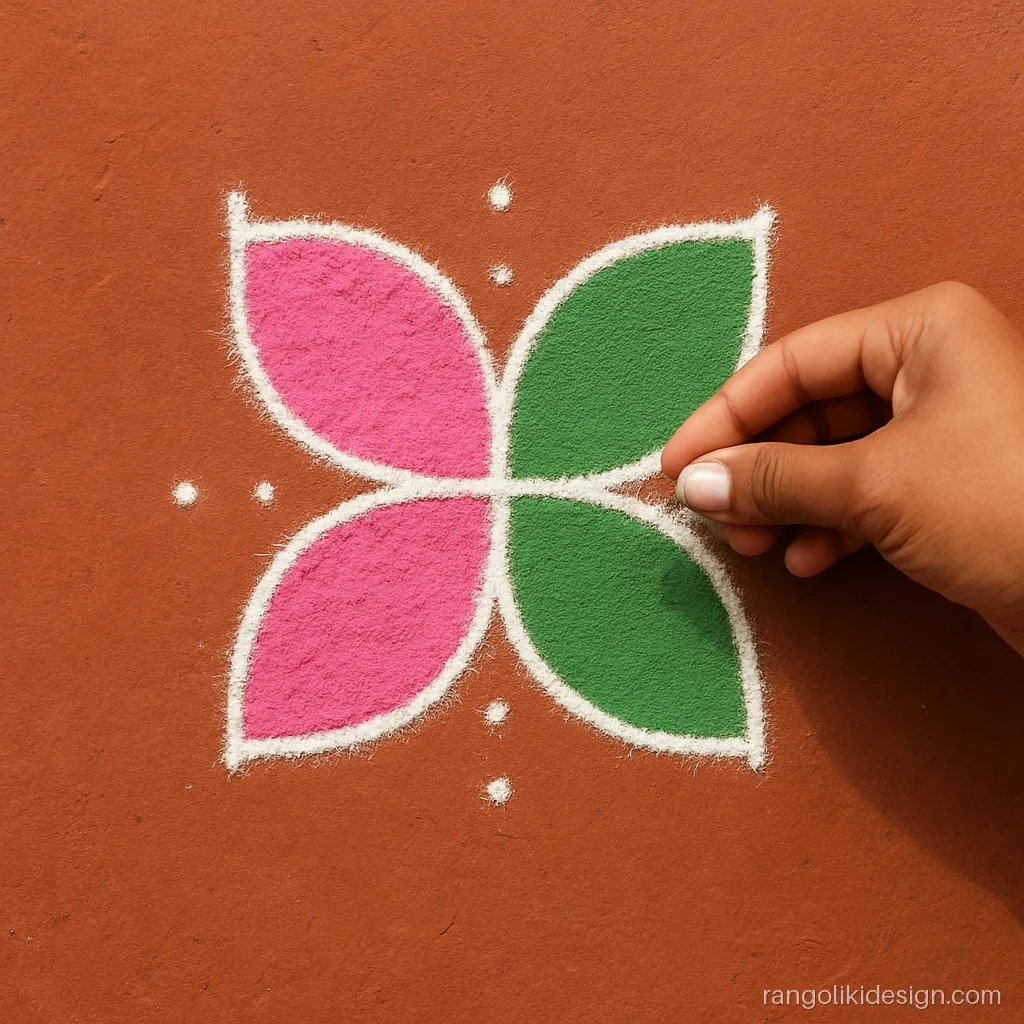
7. Filling Petals in Pink and Green
Step 3: fill petals with pink and leaves with green. Darker colours first; 10 minutes.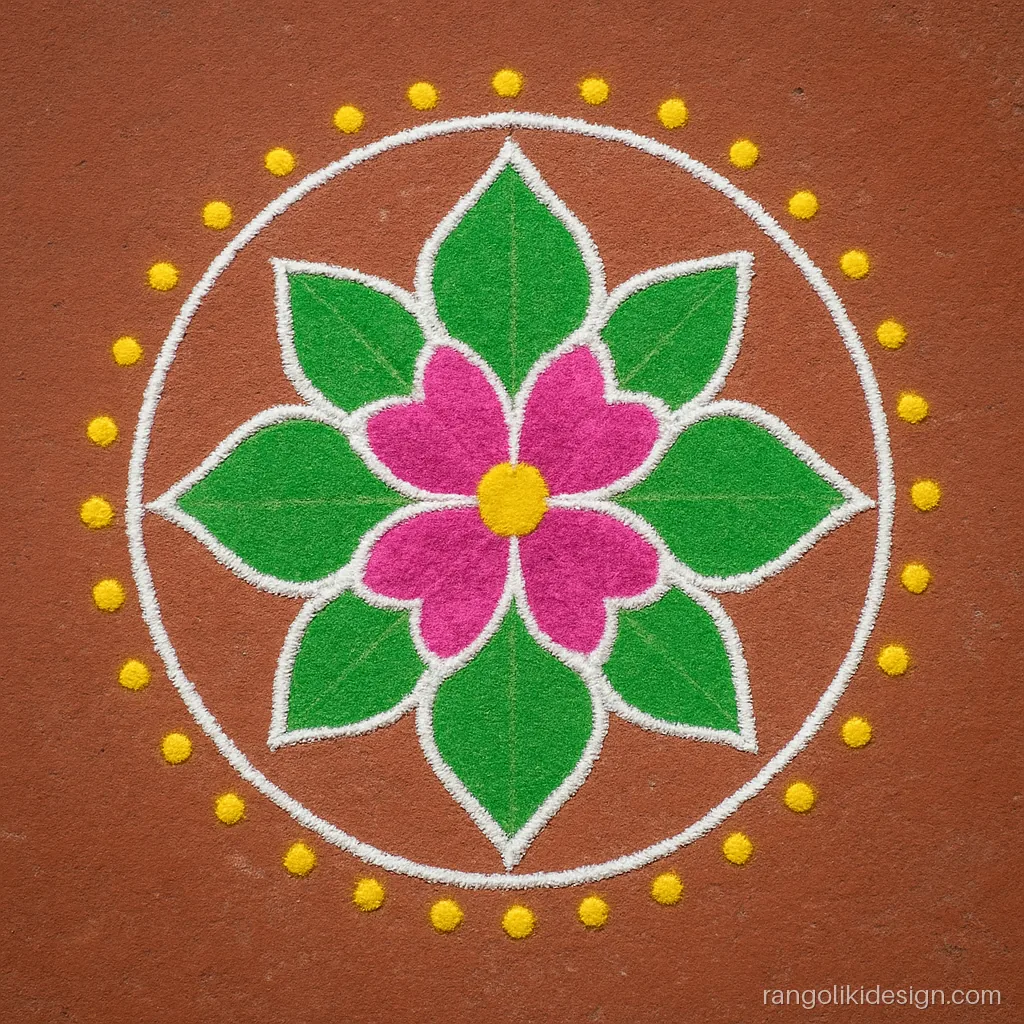
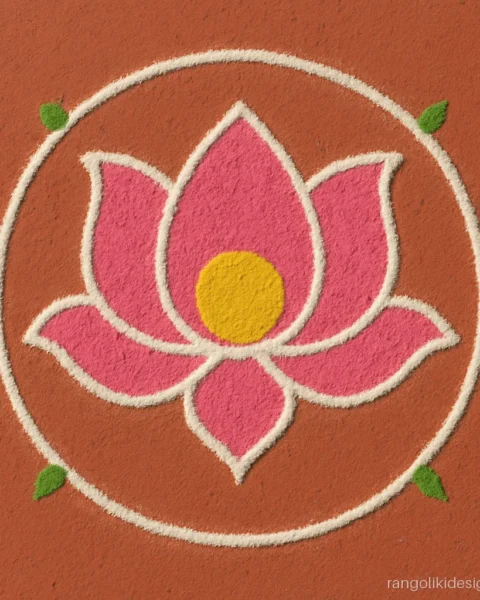
8. Finished Beginner Rangoli with a Yellow Dot Ring
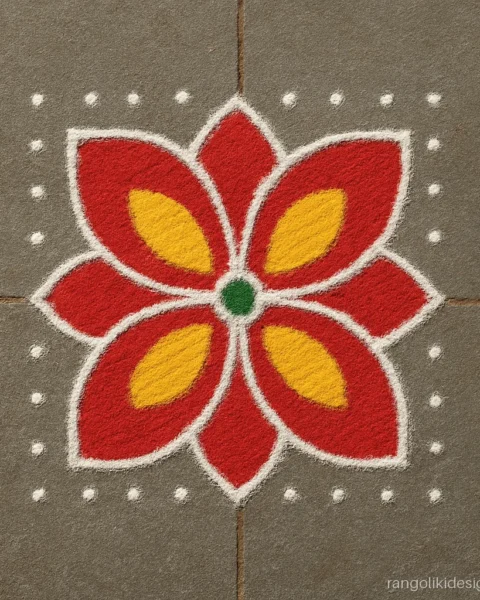
Step 4: touch up outlines and add a ring of yellow dots. Total about 30 minutes.Easy Rangoli Designs for Beginners Using Kitchen Tricks
These tricks give clean results on the first day. Each photo shows the trick and what it makes. You will see them used across our easy rangoli designs.
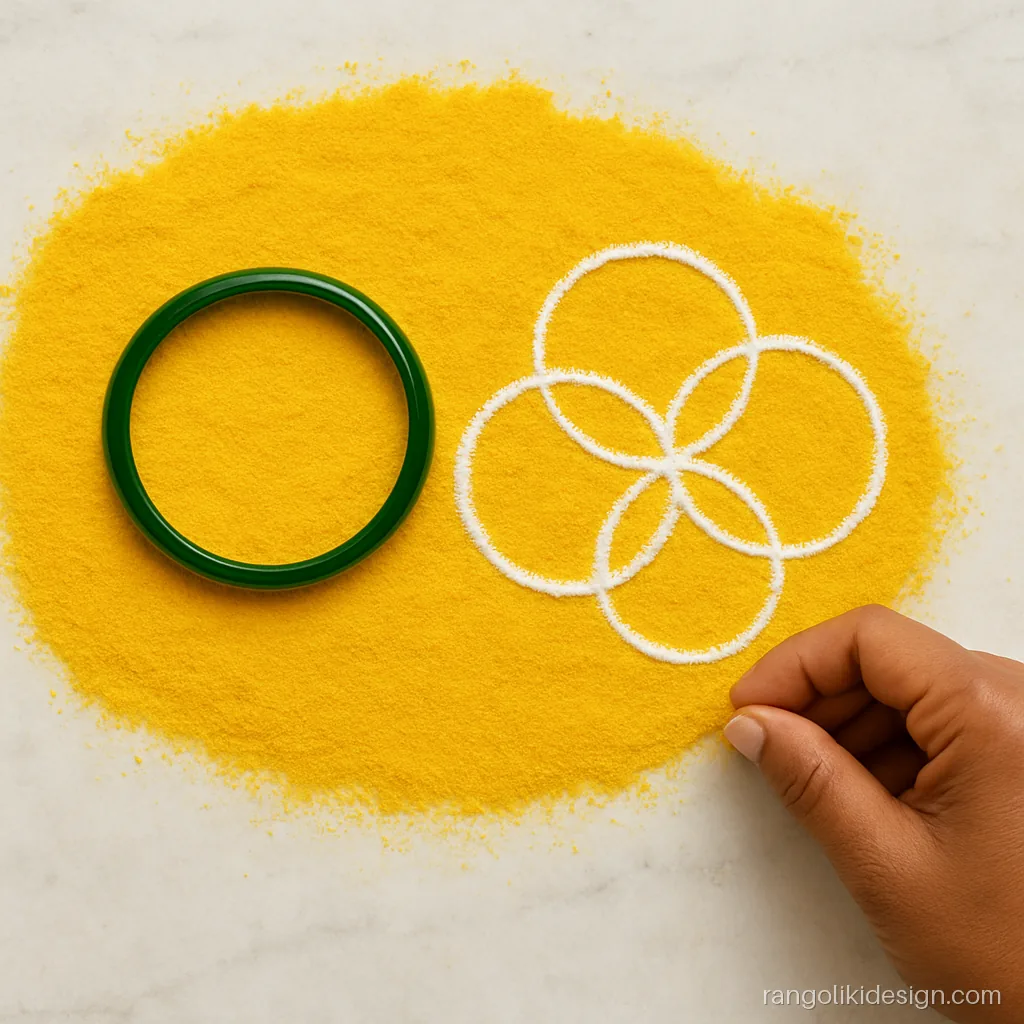
9. Perfect Rangoli Circles with a Glass Bangle
Trace inside a bangle with your fingertip, then pour along the groove. Perfect circles every time.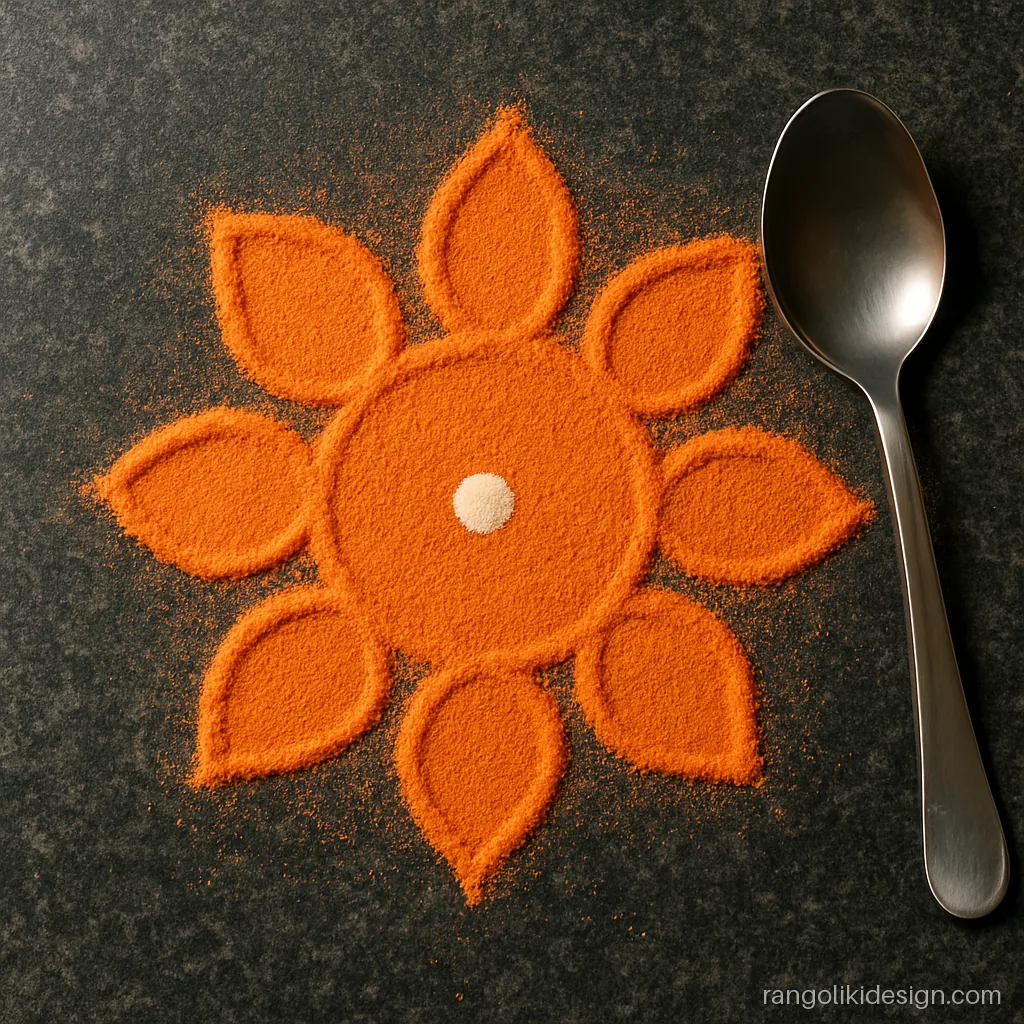
10. Spoon Pressed Petals in Two Minutes
Press the back of a spoon into a filled circle to make petals. Twelve petals in two minutes.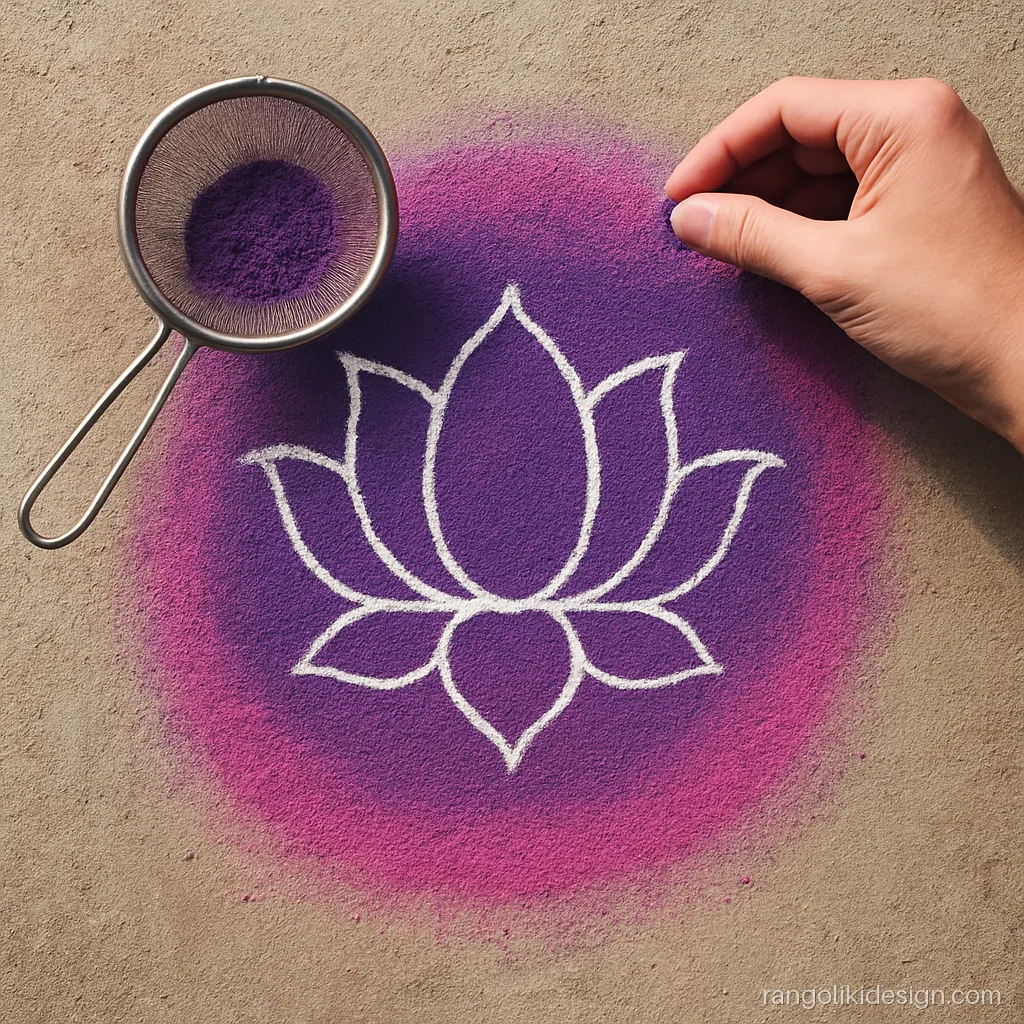
11. Soft Shading Through a Tea Strainer
Tap a tea strainer to sift colour for a soft glow. Great for backgrounds and sky.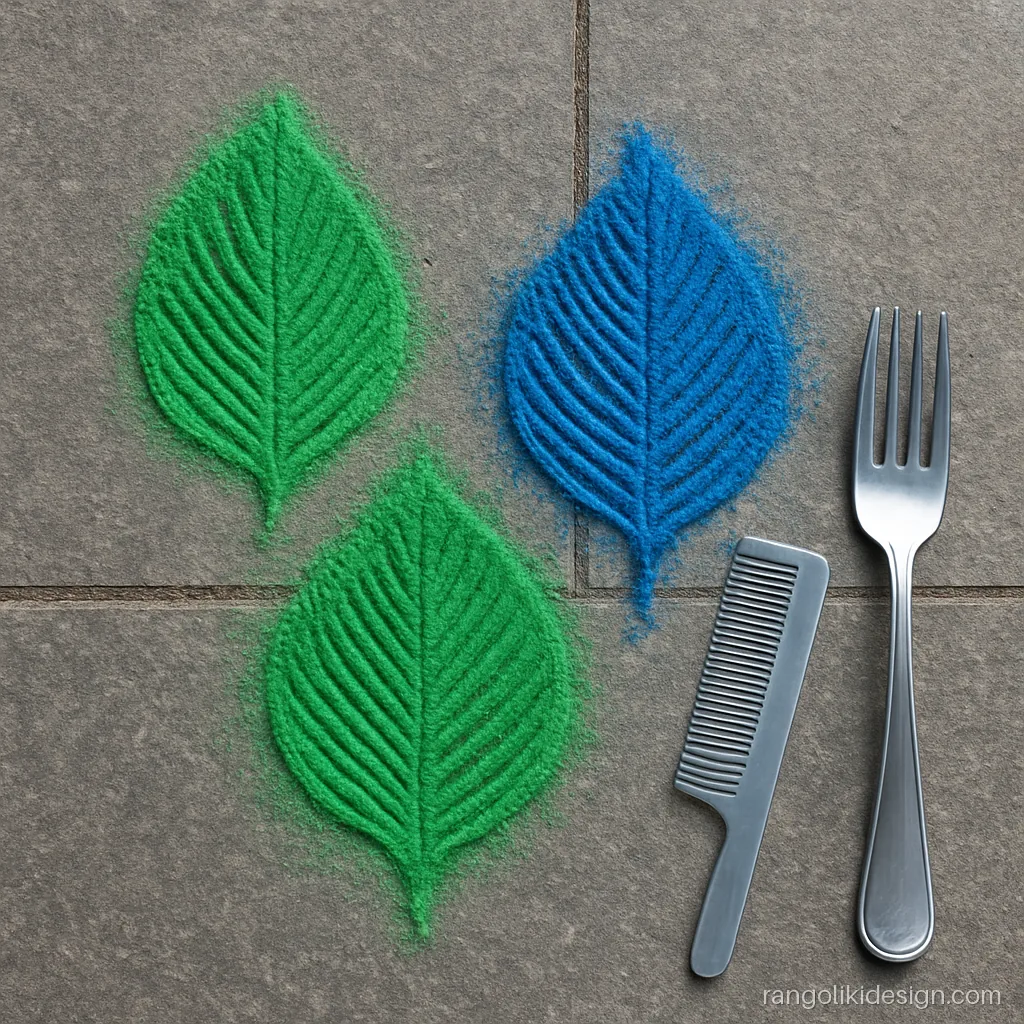
12. Comb and Fork Texture in Coloured Powder
Drag a comb or fork through filled colour for texture. Looks skilled, takes seconds.Practice Designs: Free Hand, Flower and Doorstep
Once you know the tricks, try these four beginner designs. Each one teaches a different skill: free hand curves, real flowers, a doorstep border and a small Diwali design.
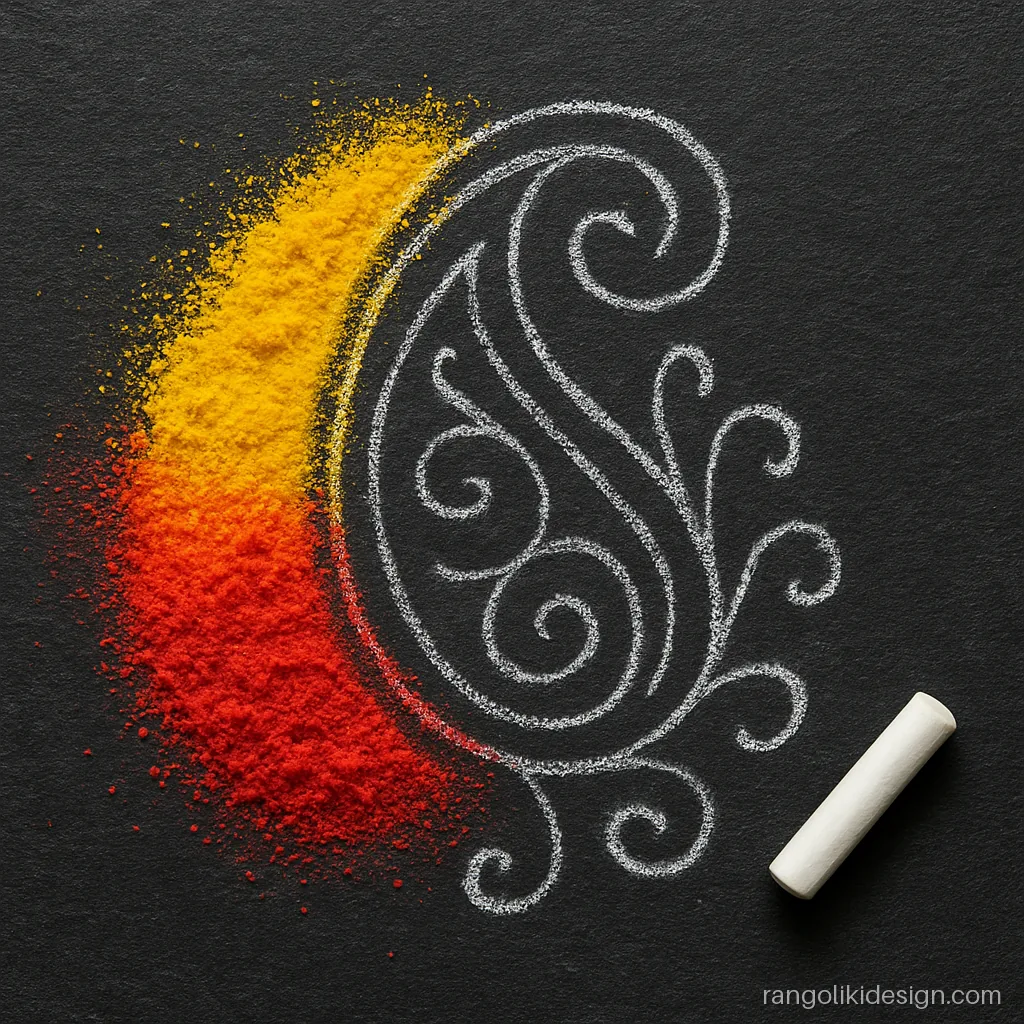
13. Free Hand Chalk Practice on Black Chart Paper
Practise free hand on black chart paper: chalk sketch first, then powder. Twenty minutes.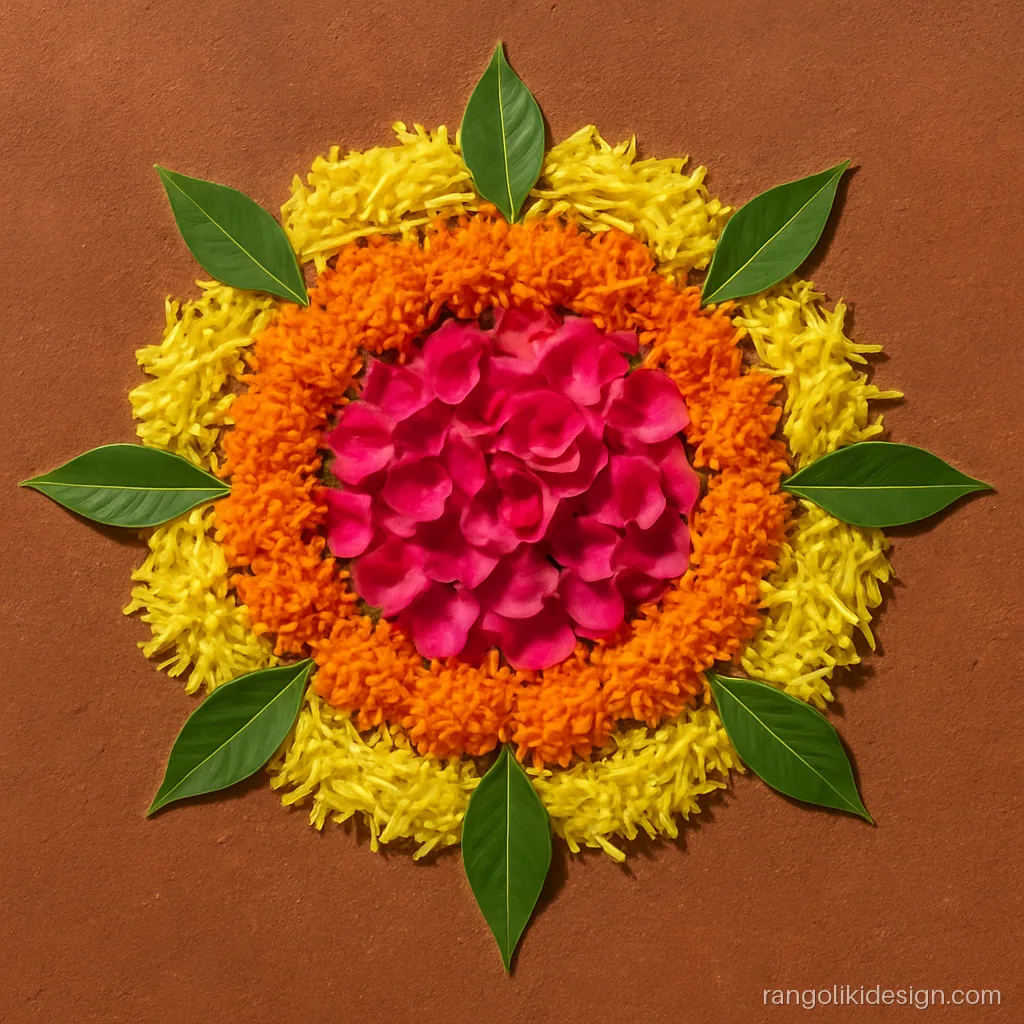
14. Beginner Flower Rangoli with Real Petals
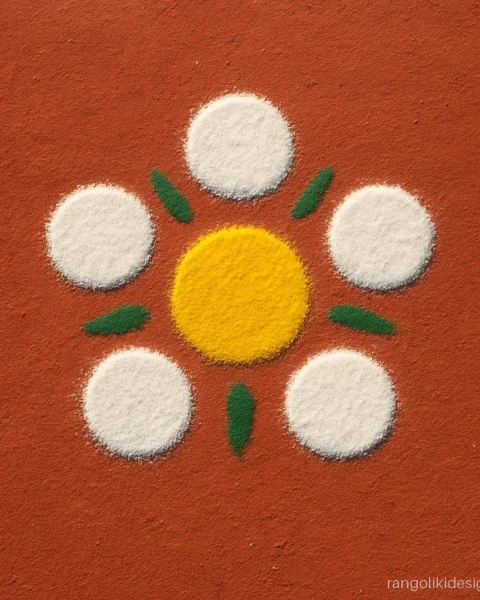
A beginner flower rangoli with real petals. No outline skill needed; 15 minutes.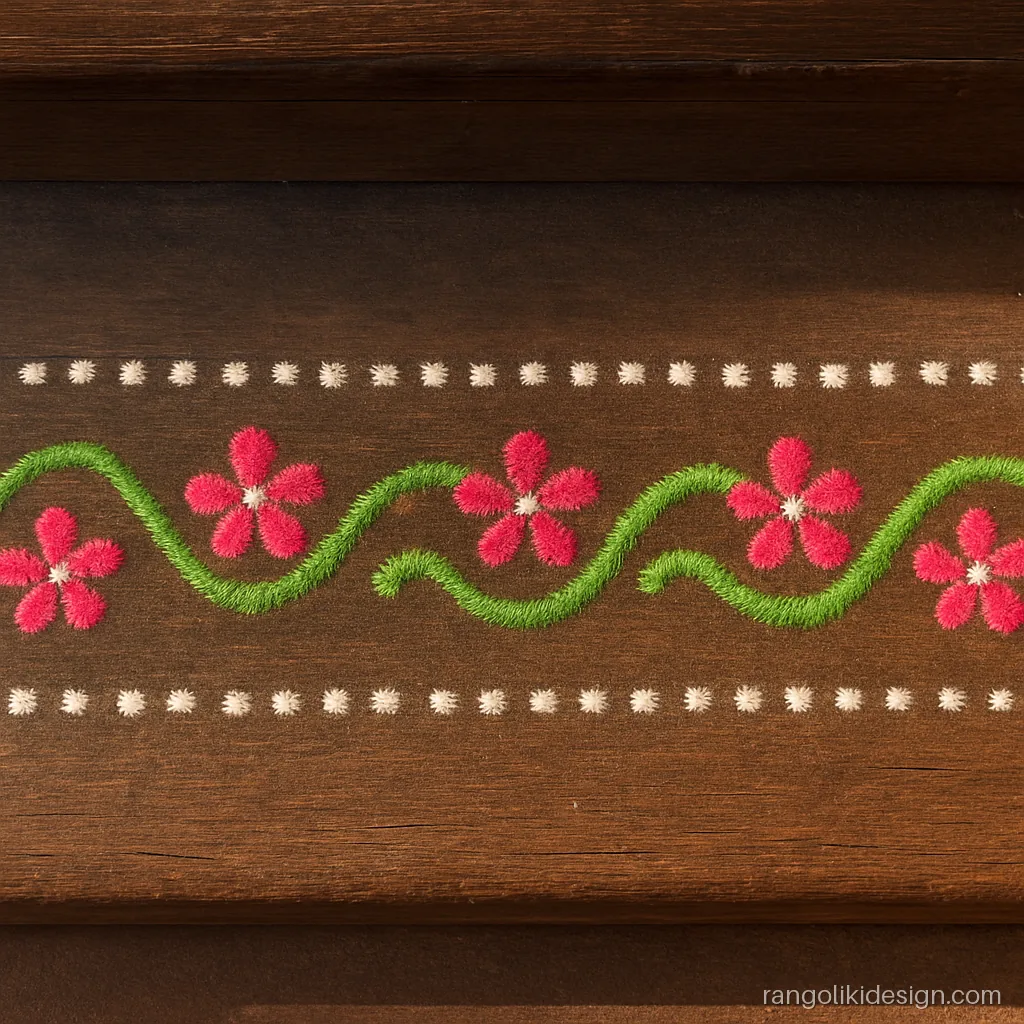
15. Simple Vine Border Rangoli for the Doorstep
A doorstep border of a vine and dots. Chalk a straight guide line first; 20 minutes.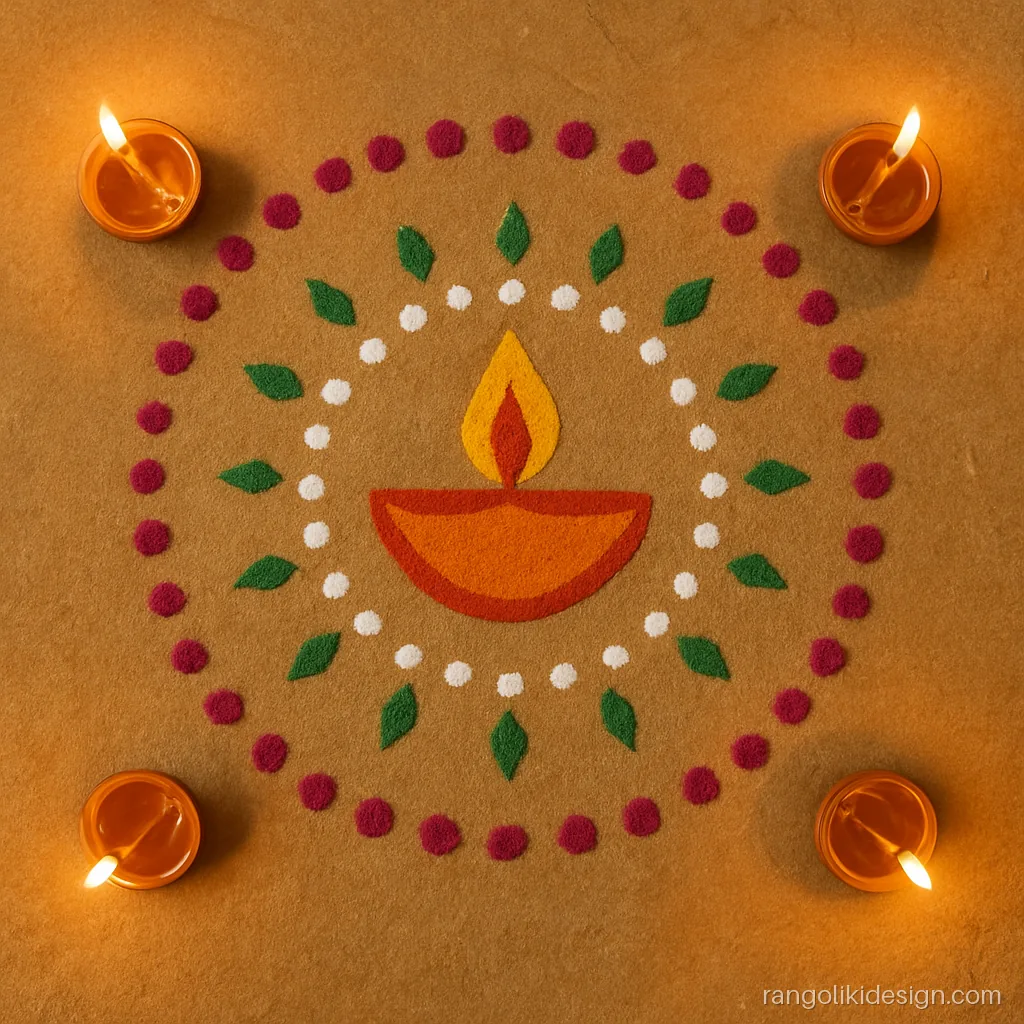
16. Diya in a Dotted Circle Diwali Rangoli
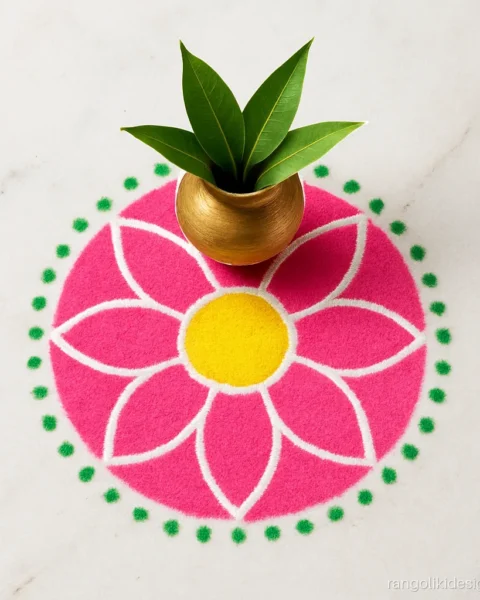
A beginner Diwali rangoli: one diya in a dotted circle with real diyas around. Twenty minutes.Materials for Rangoli Designs for Beginners
Rangoli powder is traditionally made from rice flour or ground white stone, called chirodi or rangoli powder. Colours came from haldi (turmeric), kumkum, gerua (red ochre) and dried flower or leaf powders. Today most shop colours are synthetic, which give bright shades but should not be inhaled.
- White powder: the most important item. You use it for every outline and dot. Buy at least 500 g.
- Colours: start with red, yellow, green, blue and pink. Add orange and purple later.
- Chalk: for sketching. Mistakes rub off with a dry cloth.
- Tools: a glass bangle, a steel spoon, a tea strainer, a comb, a fork, a bottle cap and a paper cone.
- A damp cloth and a dry brush: one for the floor, one for cleaning edges.
- Small katoris or paper cups: one per colour, so colours stay clean.
In the south, the daily kolam at the doorstep is made with rice flour, and in Andhra and Telangana the muggulu tradition uses the same method. In Bengal, alpona is painted with a rice paste. For beginners, dry powder is the easiest because you can sweep and start again.
How Much Colour Do You Need?
Beginners usually buy too little white and too much colour. Use this table as a guide for one design.
| Design size | White powder | Each fill colour | Beginner time |
|---|---|---|---|
| 20 to 30 cm (small) | 50 g | 25 g | 10 to 15 min |
| 45 to 60 cm (medium) | 150 g | 75 to 100 g | 30 to 45 min |
| 1 metre | 300 g | 200 to 250 g | 1 to 1.5 hours |
| 2 metres | 1 kg | 500 g or more | 3 hours or more |
On rough cement or mud floors, add about one third more, because the floor soaks up powder. On smooth marble, you need a little less. Store leftover colour in airtight jars so it stays dry and free of lumps for the next festival.
Steps Rangoli Designs Follow: From Floor to Finish
The basic rangoli banane ka tarika is the same everywhere: almost every rangoli is made in the same order. Learn these steps once and you can make any design on this site.
- Clean the floor. Sweep, then wipe with a damp cloth. Let standing water dry, or the powder will turn into paste.
- Mark the centre. Put a small chalk dot where the middle of the design will be. For a doorstep rangoli, keep it a little away from where the door opens.
- Make the guide. Either place a dot grid (like 7 to 4 or 9 to 5) or draw a light chalk sketch. For circles, use a bangle, a plate or a string tied to chalk.
- Pour the outline. Take a pinch of white powder between thumb and first finger. Hold your hand low, about 2 cm above the floor, and roll your fingers so powder falls in a thin stream. Move slowly.
- Fill the colours. Start with the darkest colour and the centre of the design. Work outward so your hand never crosses finished parts.
- Add details. Dots, small petals and white edging go last. They hide uneven edges.
- Clean up. Brush away stray powder with a dry paintbrush and wipe your fingers between colours.
For rangoli designs with dots step by step, the grid is the most important part. Place dots with equal gaps, about 3 to 4 cm for a small design. A crooked grid gives a crooked design, however careful your lines are.
Tricks and Common Mistakes in Simple Rangoli Designs for Beginners
- Bangle: place it flat, run a fingertip around the inside, then pour along the groove. Overlap three bangle circles for an instant flower.
- Spoon: fill a circle with colour and press the back of a spoon into the edge for teardrop petals. Two spoon sizes give two petal sizes.
- Tea strainer: put powder in the strainer and tap the side for a soft, even layer. Good for shading and backgrounds.
- Comb and fork: drag through filled colour for grass, feathers or stripes.
- Bottle cap: stamp it into a thin layer of powder for even round dots.
- Chalk sketch: the biggest help for free hand simple rangoli designs for beginners. Draw, check, rub out, then pour.
- Paper cone: roll a square of thick paper into a cone and cut a tiny tip. It gives lines as thin as a pencil.
Practise on black chart paper on the floor first. The dark paper shows every colour clearly, and you can lift it and start again.
Common mistakes and quick fixes:
- Lines too thick: you are holding too much powder or holding your hand too high. Take a smaller pinch and keep your hand close to the floor.
- Broken lines: the floor is dusty or still wet. Wipe and dry it well.
- Muddy colours: fingers carry old colour. Wipe them on a cloth between colours, and fill dark colours before light ones.
- Uneven design: no centre mark or an uneven grid. Always mark the centre and count dots carefully.
- Too many colours: choose three plus white. Easy simple small rangoli designs for beginners look better with fewer colours.
- Smudged by your own hand: work from the centre out, and rest your hand on a folded cloth if you must lean in.
- Running out of white: outlines use more powder than fills. Keep a full extra packet of white before you start.
- Rushing the last part: the final dots and edges are what people notice first. Slow down at the end, not the start.
- Starting too big: a 2 metre design on day one ends in frustration. Master 45 cm first, then double the size.
A 7-Day Practice Plan and Rangoli Ideas Easy Enough to Start
Ten to fifteen minutes a day is enough. Use the same spot each morning so you can see your progress.
| Day | What to practise | Goal |
|---|---|---|
| Day 1 | Straight lines and dots on black chart paper | Thin, even lines without breaks |
| Day 2 | Circles with a bangle, then free hand circles | Round shapes that close neatly |
| Day 3 | A 5 to 3 dot flower | Equal gaps between dots |
| Day 4 | Spoon petals and comb texture | Clean petal edges |
| Day 5 | A 7 to 4 dot design with two colours | Filling without smudging outlines |
| Day 6 | A free hand paisley or peacock feather after a chalk sketch | Smooth curves |
| Day 7 | A full 45 cm design at the doorstep | Finish in under 40 minutes |
After the first week, repeat your favourite design and time yourself. When it takes half as long, move up to a bigger grid like 9 to 5 or 11 to 6, or try a border. Easy flower rangoli designs for beginners with real petals are a nice break on busy days, since they need no outline at all. Take a photo from above each day. Looking back after a month, you will be surprised how much steadier your lines have become.
Once your lines are steady, pick from these rangoli ideas by occasion. Each one uses the steps above.
- Easy rangoli ideas for daily use: a 5 to 3 dot flower, a swastik in a square, or a wavy vine border along the step.
- Diwali rangoli ideas: a diya inside a dotted circle, Laxmi charan walking in, or a marigold ring around five real diyas. See Diwali rangoli designs.
- Aesthetic rangoli ideas: two or three soft shades like peach, mint and white, a lot of empty floor, thin lines and a single motif such as a moon or a leaf.
- Rangoli competition ideas: choose one clear theme, like save water or a peacock, plan it on paper, and practise the hardest part twice. See competition rangoli designs.
- One rangoli idea for kids: a stencil fish or butterfly filled with natural colours.
How to Make Rangoli Last and How to Clean Up
Make your rangoli away from fans and from the main path. Place diyas, flowers or a few stones at the edges so people walk around it. Outdoors, a light mist of water around the edges helps the powder settle, but never spray directly on top. A rangoli on a smooth floor lasts one to two days. For Diwali, many families refresh the colours each evening instead of making a new design.
To clean, sweep gently from the outside in, so colour does not spread. Collect clean powder in a jar to reuse. Wipe the floor with a damp cloth, then a dry one. Some colours, especially red and pink, can stain marble or white tiles, so wipe them quickly. Wash your hands with soap, and keep children from rubbing their eyes during the work. When you feel ready for something new, try easy rangoli designs for Diwali for beginners on our Diwali rangoli designs page or the soft shapes in flower rangoli designs.
Common questions
What are the best easy rangoli designs for beginners?
A small dot design on a 5 to 3 or 7 to 4 grid, a bangle-traced flower or a real flower petal rangoli. These need only short lines and two or three colours. Practise one design a few times before moving on. Easy simple rangoli designs for beginners teach hand control faster than big, detailed ones.
How do I make rangoli without dots?
Use a chalk sketch instead of a grid. Draw a centre point, sketch a flower or sun lightly with chalk, check that it looks even, then pour powder on top. A bangle or plate helps you get round shapes without dots. See free hand rangoli designs for ideas.
What are easy rangoli designs for Diwali for beginners?
A single diya inside a dotted circle, Laxmi charan footprints walking into the home, or a marigold ring around a real diya. Each takes 15 to 20 minutes. Laxmi charan are always drawn pointing into the house.
Which is the easiest doorstep rangoli for a beginner?
A straight border along the step: a wavy vine or a row of triangles between two white lines. Mark a straight guide with chalk first. Doorstep rangoli designs like this take about 20 minutes and leave room to walk in.
How do I draw a step by step 9 to 5 dots rangoli?
Put 9 dots in the middle row, then 8, 7, 6 and 5 above and below it, keeping gaps equal. Join the dots into four petals around the centre, then add leaves on the diagonals. Fill the petals in one colour and outline in white. It takes about 20 minutes.
Rangoli kaise banaen if I have never made one?
Start with a clean, dry floor, a bowl of white powder and two colours. Make a 5 to 3 dot grid, join the dots into a flower, fill the petals and outline in white. Kids can do the same with an adult nearby: see rangoli designs for kids.